Mac 10 Iso For Virtualbox
The checksum on the file is 5e8bdef20c4b468f868f1f579197f7cf I don't see a checksum listed on the microsoft page. I got it from: Selected Edition: windows 10 Select Language: English select: 64-bit download (after this the file is downloaded to me) this is the error message I get in VBox after selecting Start: Fatal: No bootable medium found! System halted I downloaded a fresh copy of the iso this morning.
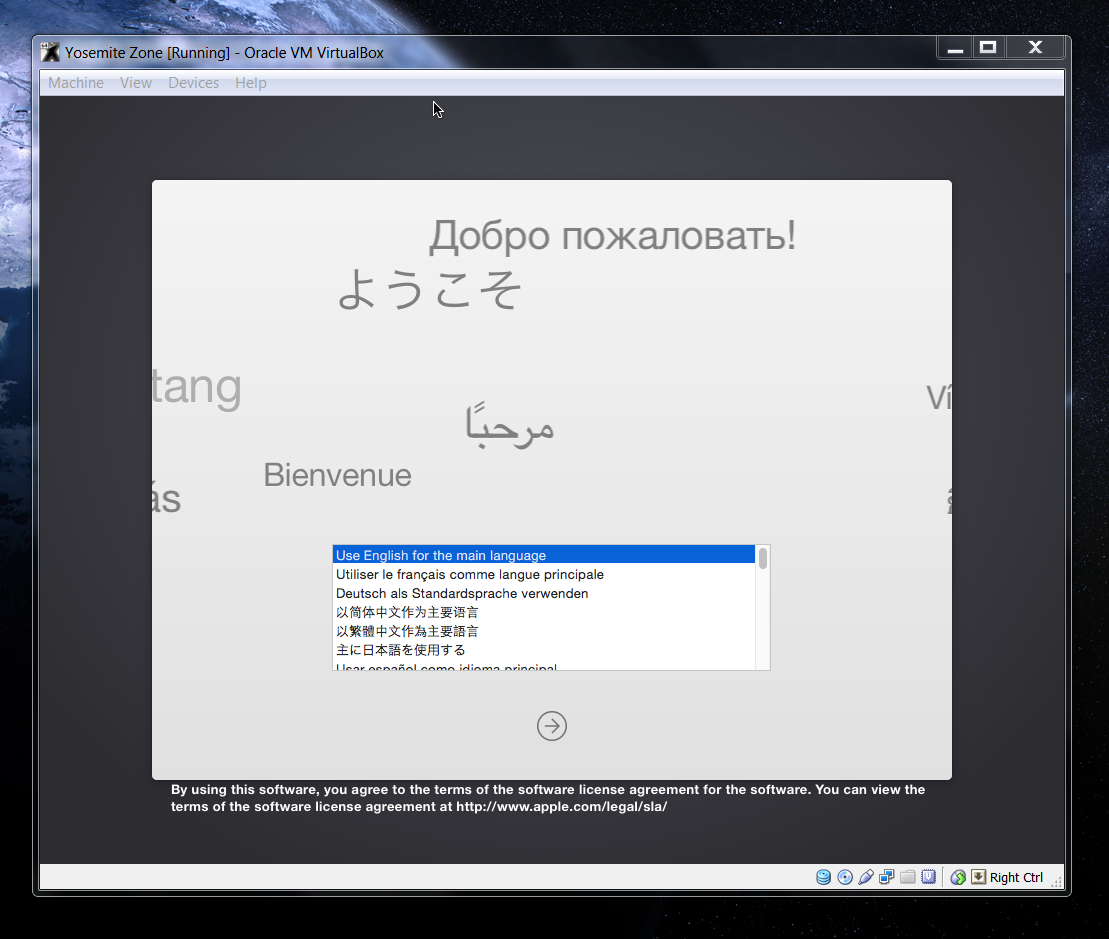
Mac OS X Yosemite 10.10 is another product in Apple's line of Mac OS X titles. Mac OS X Yosemite 10.10.5 desktop Yosemite includes various improvements over previous versions, one of the most prominent being the introduction of FaceTime, which is part of the Continuitypackage whicl allows users to accept and send calls from their computers in. #Step 6: Install macOS High Sierra 10.13 on VirtualBox When you’ve completed the step above, open VirtualBox and click Start on the virtual Machine. The VM will start running and you’ll see some codes running, it will take 5-10 minutes, when it finished, on the first page you’ll see the Welcome page, choose your country and click Continue.
I have the iso on the desk top and on a flash drive. I have also opened the iso from the flash drive on the desk top.
I have tried with the destination drive mounted and also ejected.
Right click on 'My Computer' on your desktop and click 'Properties' to check the stats on your computer. If it doesn't directly tell you how many cores your processor has, look up your processor model on Wikipedia or Google. You also want to find out whether your processor is made by 'Intel' or 'AMD'. While Niresh technically works with both types of processors, if you have an AMD processor, you'll have to perform a few extra steps during the installation (and the final result may not work as well, either). General Requirements •: This virtualization suite is free, and though it doesn't offer official support for Mac OS X, it works well enough. •: Unfortunately, the (which uses an official copy of the Mavericks installer) doesn't work with Virtualbox.
Instead, you'll have to pirated 'distros' of Mac OS X such as Niresh, which is now the most popular distro for Mavericks. You will need to to download the disk image file, which is a little less than 6 GB in size.
On the Niresh website, you'll be given an option to either download the 'ISO Version' or the 'USB version' of 'Niresh - 10.9 - Mavericks'. Download the ISO version-- the USB version (which is an Apple DMG file) doesn't appear to work in Virtualbox. Your virtual machine will now be created. But don't stop now--you still need to change a few settings before your machine will actually work. Your new virtual machine will show up on the left column of the Virtualbox start page. Select your Mac OS X virtual machine (single-click) from the main page of Virtualbox, and open up the virtual machine settings. Once the settings open up, go to 'System' and uncheck the 'Enable EFI' box.
This is by far the most important single setting that you will need to change. Start up your virtual machine. You will come up to the Niresh boot screen, with one option to select: OSX-Mavericks. Press the 'Enter' key on your keyboard. Download tunnelblick for mac.
NOTE 1: If your computer uses an AMD processor, you will have to 'amd' or 'amd64' (without quotation marks)-- which flag you need depends on your specific processor, so test one flag at a time. Type the boot flag 'amdfx' (also without quotation marks) if your AMD processor has 'FX' in its model name.
NOTE 2: Virtualbox may have problems booting Mac OS X if your computer uses an (i.e. If your computer was built/bought in 2013 or later). If this is this case, you will have to trick Virtualbox into thinking that your processor is actually an older model. To do this, open the Command Prompt in Windows (make sure you are logged into an Administrator account on Windows). You can do this by opening the Start Menu, and typing 'command prompt' into the Start Menu search bar. Then, type the following command into the Command Prompt. Cd 'C: Program Files Oracle Virtualbox' This command will change the focus of the Command Prompt to the program folder for Virtualbox (if you installed Virtualbox somewhere different, then change the command to wherever you installed it).
Next, type in this command: VBoxManage modifyvm --cpuidset 00006a9 0000201 178bfbff This command activates 'vboxmanage', a command-line program included with Virtualbox that allows you to edit the properties of your virtual machine, including its built-in resolutions. Replace 'Name of virtual machine' with the name of your virtual machine (no quotation marks)-- you can find the name of your virtual machine in the left pane of the Virtualbox main window. This command should do the trick. The default selection will enable Mac OS X to boot from the virtual machine without any assistance. The are only two things you need to change: • Uncheck Install Network Drivers (Kexts). This option is checked by default.